Merc6's Mini Build
#121
 05-24-2013, 10:50 PM


Current project is the Regal Gauges. From the looks of it I might have to solder for the 4th motor to work. As is the speedo and fuel will work fine but tack will be the water temp and the water temp needle is dead. Took lots of pics but may need to resize them...
#122
05-24-2013, 10:58 PM
At the end of the day I can at least use the overlays the regal uses vs the plain ones the century has.
*Just an idea floating around not concrete* Debating on swaping out needles from diffrent cars and maybe painting/vynal wraping the shrouds.
Century plain shroud on Century gauge cluster
http://i90.photobucket.com/albums/k2...ps6d5baa51.jpg
Regal 5 circle shroud on Century guage cluster
http://i90.photobucket.com/albums/k2...ps7ea0b0eb.jpg
In case you aren't seeing the difrence here is another angle w/o gauge faces
Century
http://i90.photobucket.com/albums/k2...ps7e872e57.jpg
Regal
http://i90.photobucket.com/albums/k2...ps4f4a03e8.jpg
Both faces
Century top Regal bottom(white line is normally hidden by shroud and the ends are cut because I toook the ends for a previous project)
http://i90.photobucket.com/albums/k2...ps96fd88a2.jpg
Both backs
Top Century Bottom Regal. As you can see all gauge clusters had a slot for 4 needles and Driver Information Center.
http://i90.photobucket.com/albums/k2...psb24afced.jpg
This is the spot where the 4th needle on the regal would be controlled. the Century board doesn't have the clips that you see to the right for the gas needle. Not sure if soldering those pieces would unlock that feature. Regal gauges came w/o the board plus using the one in the car already keeps the original miles.
http://i90.photobucket.com/albums/k2...ps3454da8f.jpg
Last edited by Merc6; 05-24-2013 at 11:15 PM.
#123
05-24-2013, 11:24 PM
One more post to add is difrence between regal and century doors is this....
Plastic panels on the bottom to square it out. Might do this if I find the right color front and rear end. Sems like no regal w/o front end damage on and off the road exist.

Plastic panels on the bottom to square it out. Might do this if I find the right color front and rear end. Sems like no regal w/o front end damage on and off the road exist.
#124
05-25-2013, 04:44 PM
Plan B regal gauges didn't work.
http://i90.photobucket.com/albums/k2...ps1149be0c.jpg
http://i90.photobucket.com/albums/k2...psec10499d.jpg
http://i90.photobucket.com/albums/k2...ps1149be0c.jpg
http://i90.photobucket.com/albums/k2...psec10499d.jpg
#125
05-28-2013, 06:05 PM
The Century gauges look really good with the regal bezel. What year was the Regal you got the gauges from? According to regalgs, they're really picky about which years will work in the Century. From what I read, only 1997-1998, 1999-2000, 2001-2002, 2003-2004 will work, so you may have to find one out of a '97 or '98 to work in yours.
#126
06-03-2013, 12:43 PM
Trunk brake lights and cluster sans board were 1999 Regal LS pictured above in the door comparison pic. With my board the fuel and speedo worked. Tach malfunctioned due to the resistors and a 4th connection missing from the board. Temp not work missing resistors and 3 connectors.
Took the overlay and put it on the Century one for now. So far the mods were Canadian ABS and Brake lights and regal 5 rings.
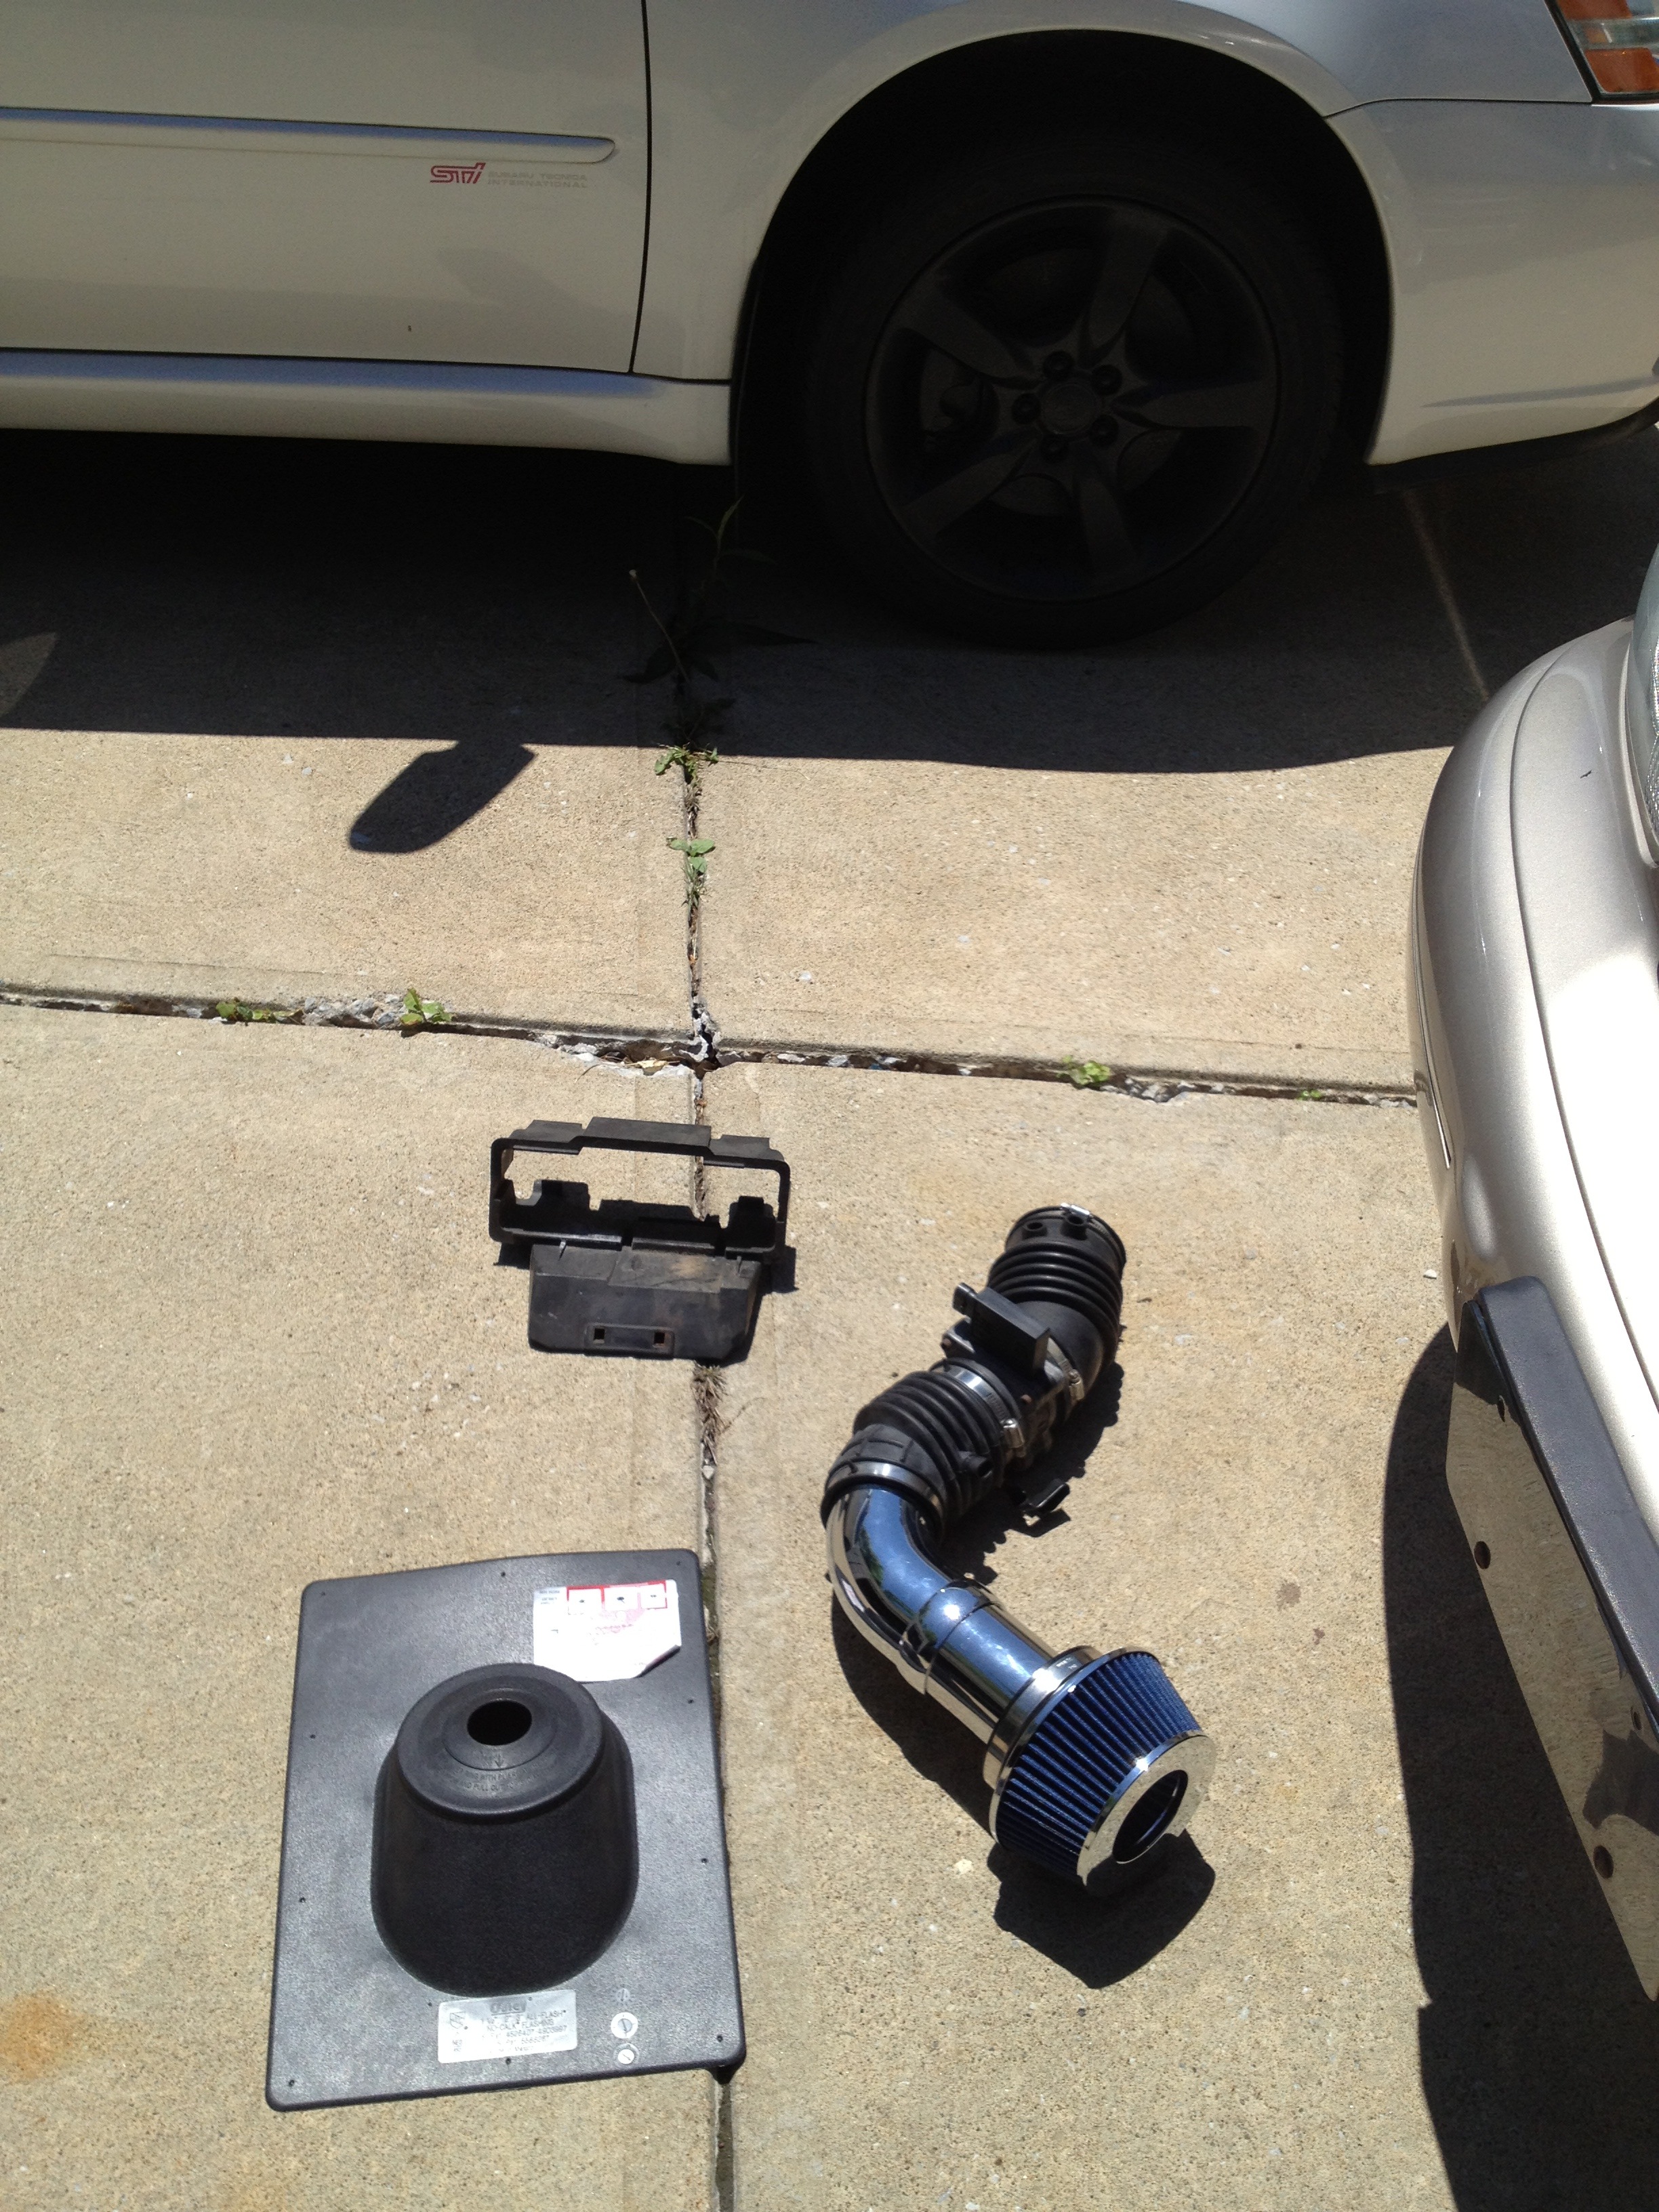
Sneak peak at next mod
Took the overlay and put it on the Century one for now. So far the mods were Canadian ABS and Brake lights and regal 5 rings.
Sneak peak at next mod
Last edited by Merc6; 06-03-2013 at 12:46 PM.
#128
06-03-2013, 10:49 PM
F Body ECU bracket and vent pipe flashing if I need to put the filter out of the engine bay. I installed it temporarily with the most of the media taped up and only the top open. I may cover the filter and only leave the top open to the fender.